
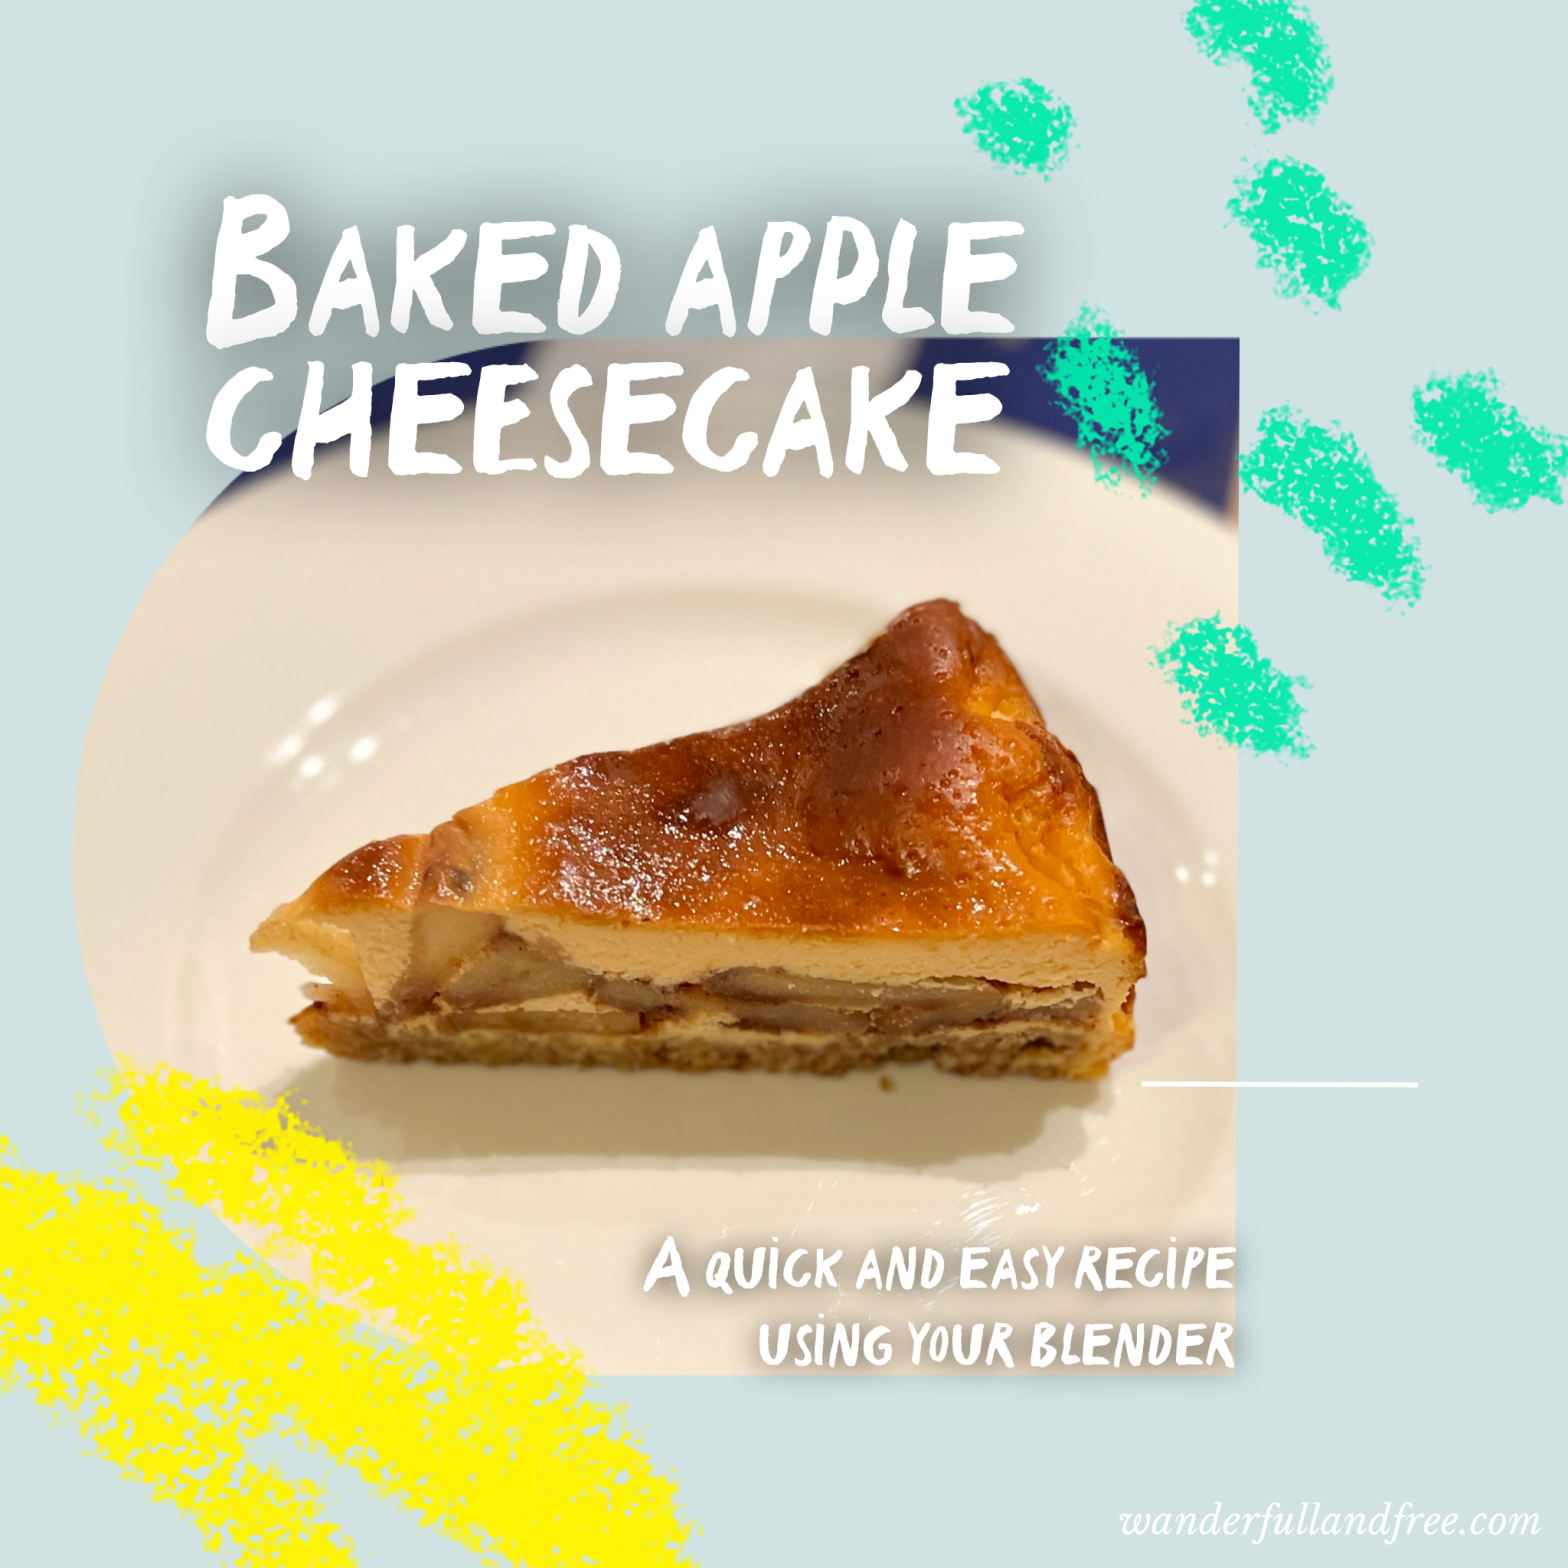
Baked Apple Cheesecake
An easy, delicious baked apple cheesecake recipe inspired by memories of Japan
Update: Baked Apple Cheesecake Recipe video now included
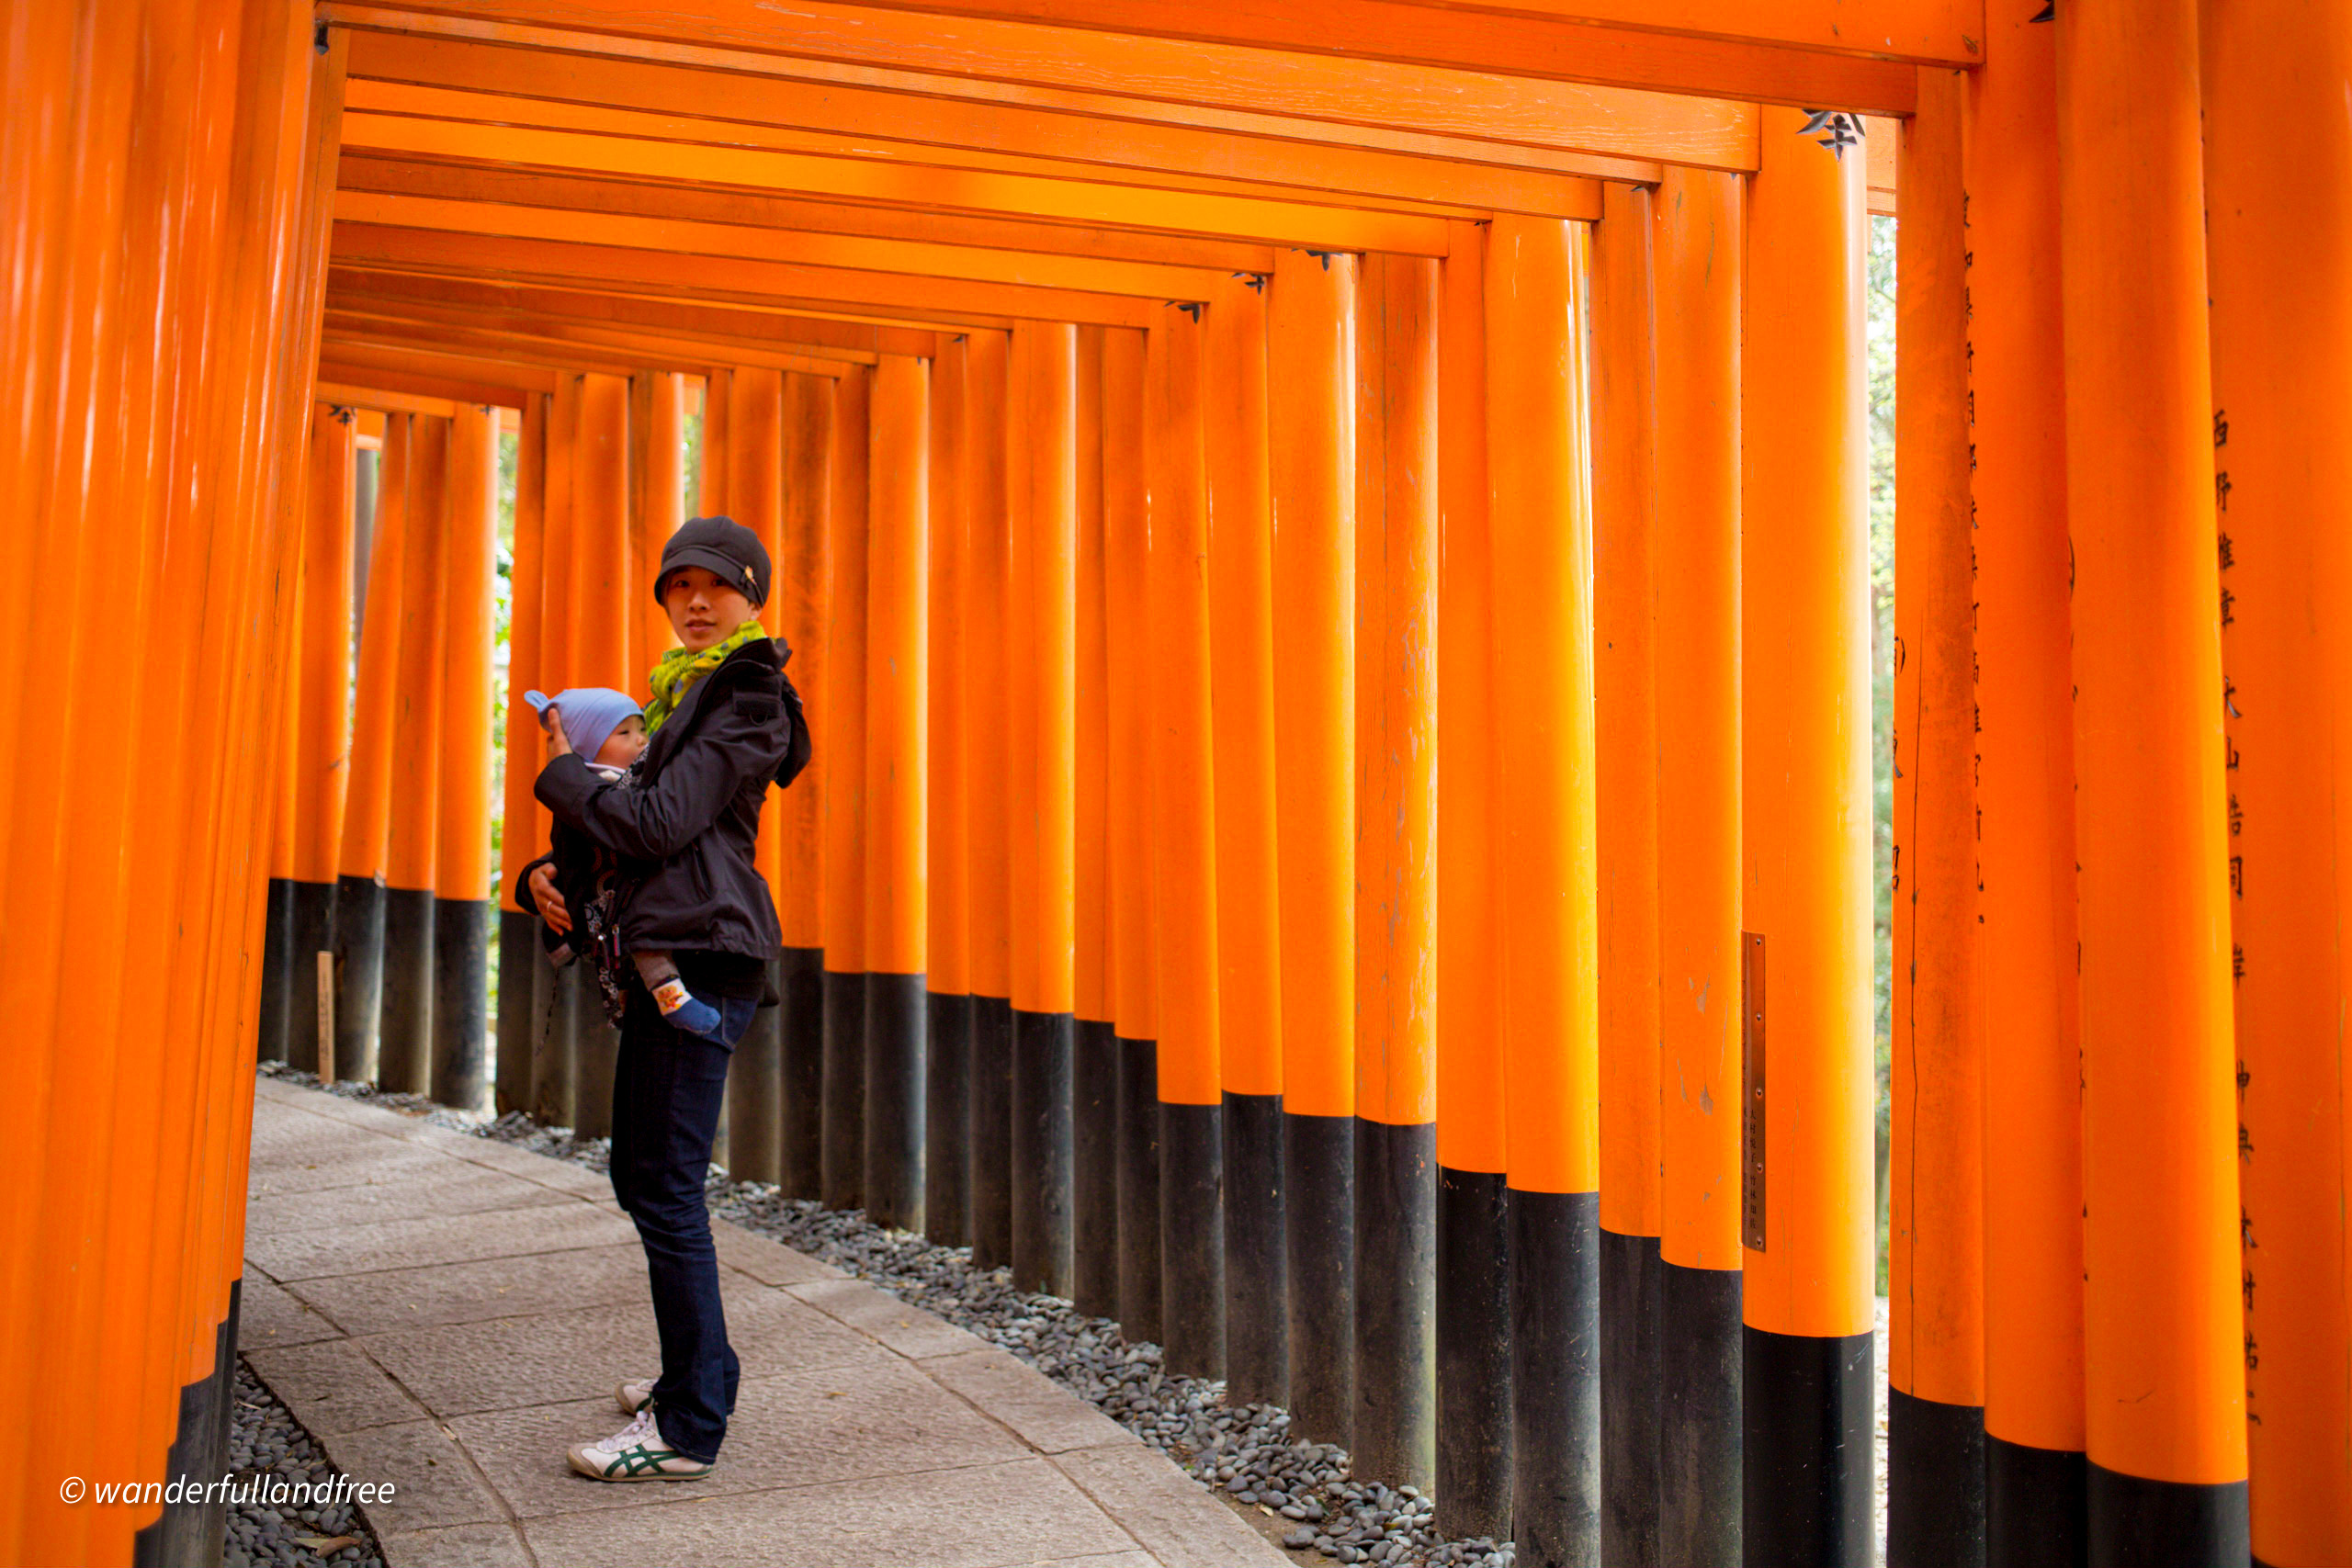
There is a precious memory behind this cheesecake recipe. It originates from a trip many years ago, our brand new family of three, along with my mum visited the Tori gates at Fushimi Inari in Kyoto, Japan. We visited a tiny cafe after our exploration in need of refreshment and a quiet place to change the baby. We were ushered to the back of this little shop where we had the entire space to ourselves, we were able to enjoy what remains the best apple cheesecake I have eaten. It was light and airy, the layers of apple were just perfect and there was a jelly layer on top that glistened and added just enough sweetness and texture to the experience. My mum and I think back fondly to that cheesecake and nothing since has come close to that cake. I have also never been able to find a recipe that emulates this cake. I think possibly, I never will.


And so this was my experience of how good a cheescake could be. I have eaten many renditions of cheesecakes since then, especially in Japan where cheesecakes of all styles are quite the object of pride and some stores have a cult following as seen by customers waiting patiently in long queues to just buy a single tart or cake. Even making your own Japanese cheesecake is often a lofty affair to too. They often involve water baths in the oven, long slow drawn out cook times and just a small dose it seems of kitchen magic.
There are also the cold type cheesecakes that I remember as a child either frozen Sara Lee or my mum’s own famous cheesecake that had a gelatin base and a strawberry jelly layer on top.
Most recently, the basque burnt cheesecake has taken the world by storm as it is so easy to make and really takes just one bowl to prepare. This is by far a no-brainer when it comes to my preferred method of making a cheesecake!
So with all my cheesecake experiences in mind, I have combined the best of what I feel is the essence of that apple cheesecake that I had back in Japan but removed all the frills of difficulty. This baked apple cheesecake requires essentially just your blender because the biscuit base and apple layer is completely optional. But I highly recommend you try the full recipe first as it is really worth experiencing the layers of biscuit, apple and cheesecake all together.
To keep the cheesecake layer light and healthier, I only use yoghurt and leave out the cream. You will not miss the cream. I like, no let me correct that, I love apple and cinnamon so I usually sprinkle some cinnamon on my apple pieces after they are lightly stewed but this is optional too and the cake tastes great with just the apples alone.
The biscuit base is nicest with a good amount of wholegrain so I recommend something like a digestive and look, we could argue this is also adding fibre to the recipe and who doesn’t benefit from more fibre.
I have tried using tart Granny Smith apples, sweet Envy apples and a mixture of both with good success. You can add more of less apples to suit your taste too. Other fruit options that might be nice to try would be mango or blueberries.
Notes on preparing cake tin: Just like a basque burnt cheesecakes, this recipe needs a springform cake tin with a removable base. I own a 20cm (9 inch) tin but you could try 18cm, the height of the cake will just be taller. Most essential is that you line the tin with a full sheet of baking paper so the edges rise high above the top of the tin edge. Just scrunch up a big sheet and push it into the inside of the cake tin. Ask me how I know that you need a very large sheet of baking paper. This is not the time to be stingy. Cleaning up leaking cheesecake batter is a punishment nobody should have to suffer.
I have served this cake to my family and friends and it has been really well received. Perhaps the added story of that little cafe in Japan adds something to the experience too but I hope you will see that while a trip to Kyoto may not be in your near future, a taste of it can be experienced really easily at home in your kitchen. Please try it and if you sit down and enjoy a slice while listening to some jazz, I wouldn’t blame you. It is that sort of cake.
How to make Baked Apple Cheesecake

What you need
- 250g Block of cream cheese
- 200g Yoghurt
- 2 Eggs
- 80g Sugar
- 30g Cake flour
- 100g Biscuits
- 40g Unsalted butter (melted)
- 1-2 Apples (~200g when peeled and sliced)
- 1 teaspoon cinnamon (optional)
- 1 tablespoon lemon juice (optional if you skip the apples)
Equipment
- Blender (does not need to be highspeed) or a food processor
- Non-stick fry pan
- 18-20cm (9 inch) springform cake tin with removable base (lined with one sheet of baking paper)

Prepare the apples
In a dry non-stick skillet, pan fry the apple slices until they are soft and slightly translucent. I don’t add any butter, oil or sugar but you could and it would become caramelised.
I like to add cinnamon after the apples have finished stewing. Toss the apple slices to coat and leave them aside to cool.

Prepare the base
While the apples are cooking and cooling, place the biscuits into a bag, I like to use a reuseable Stasher bag for this.
Smash the biscuits into crumbs with a rolling pin, fry pan, whatever implement you feel would do this job justice…baseball bat? Let your imagination fly folks.
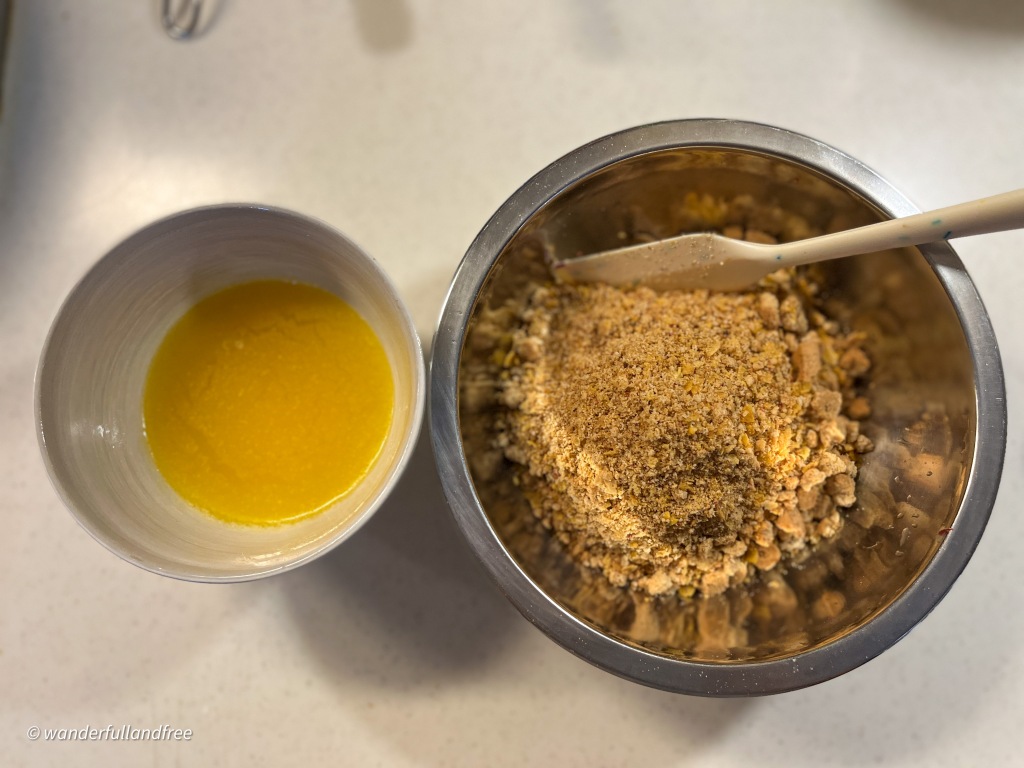
Pour the crushed biscuit crumbs into a bowl.
Add the melted butter and mix.

It will resemble delightful sandy goodness. I’m not fussed if some pieces are bigger than others but if it bothers you, crush them now with a fork.
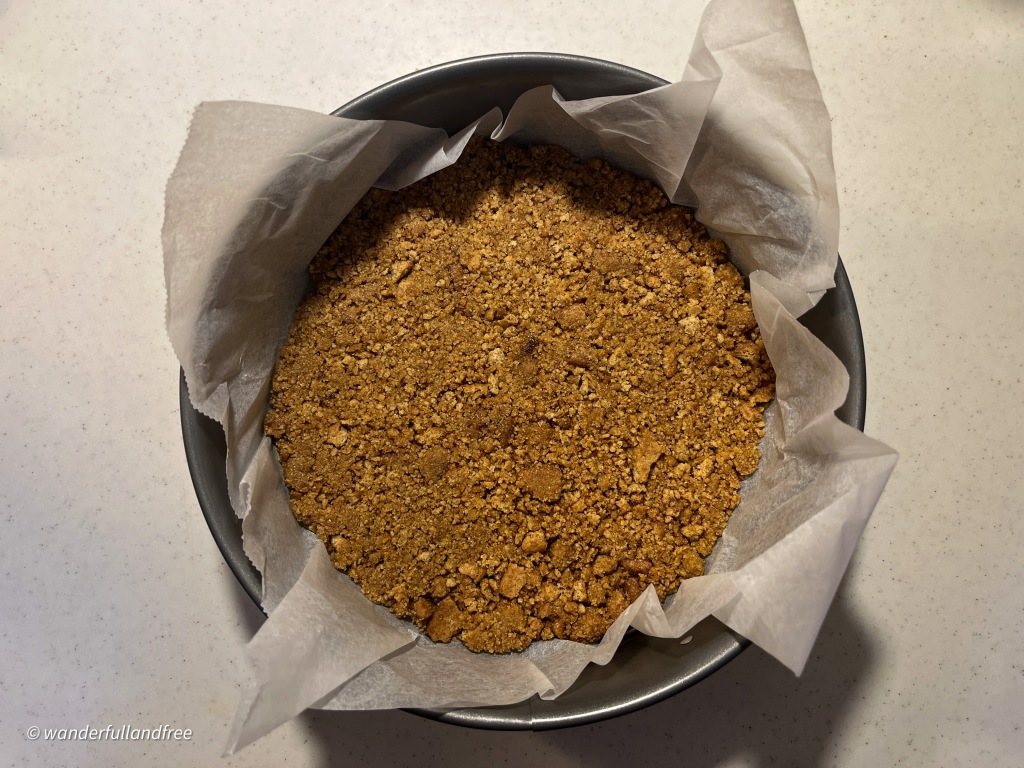
Pour the crumb mixture into your lined springform tin and flatten it out with a silicon spatula or potato masher (not that I own one of those but I imagine it would do a good job at this task!)
Put the tin into the fridge to chill and set while you prepare the cheesecake batter. This is more important in warmer climates like here in Hong Kong. The next step is so quick that you probably don’t need to do it.
If you wanted to prepare the cake in advance, the base and apples could be done at this point and left in the fridge to chill until you are ready to bake.
Prepare the cheesecake batter
Preheat your oven to 180C (fan-forced).
I like to preheat my oven to 185C and turn it down to the correct temp once I put the cake inside.
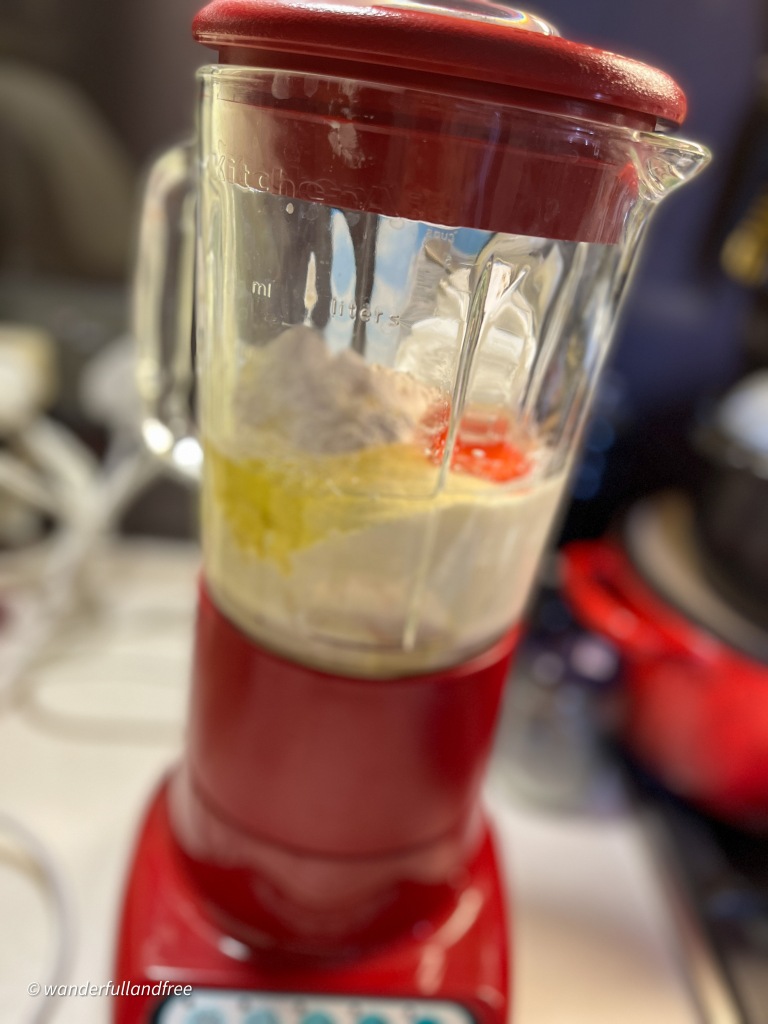
Weigh directly in your blender jar the remaining ingredients: yogurt, cream cheese, eggs, sugar and cake flour.

Blend it all to a smooth puree.
You might need to scrap down the sides. Try to avoid as much lumps as possible but again, I’m not that fussed about it and nobody ever complains.
A nice option here if you choose to skip the apple layer and just have a pure cheesecake: add 2 tablespoons of lemon juice to the puree.

Assemble the cake
Arrange the apple slices on top of the chilled biscuit base.
Try to keep it in a single layer and some overlap means hopefully no pieces float up when you pour on the cheesecake liquid mixture.

Slowly pour over the cheesecake liquid mixture until the apples are all covered.
It is ok if some apples are still visible as the cheesecake batter will rise and puff up considerably during baking and submerge the apples.

Carefully transfer to the oven.
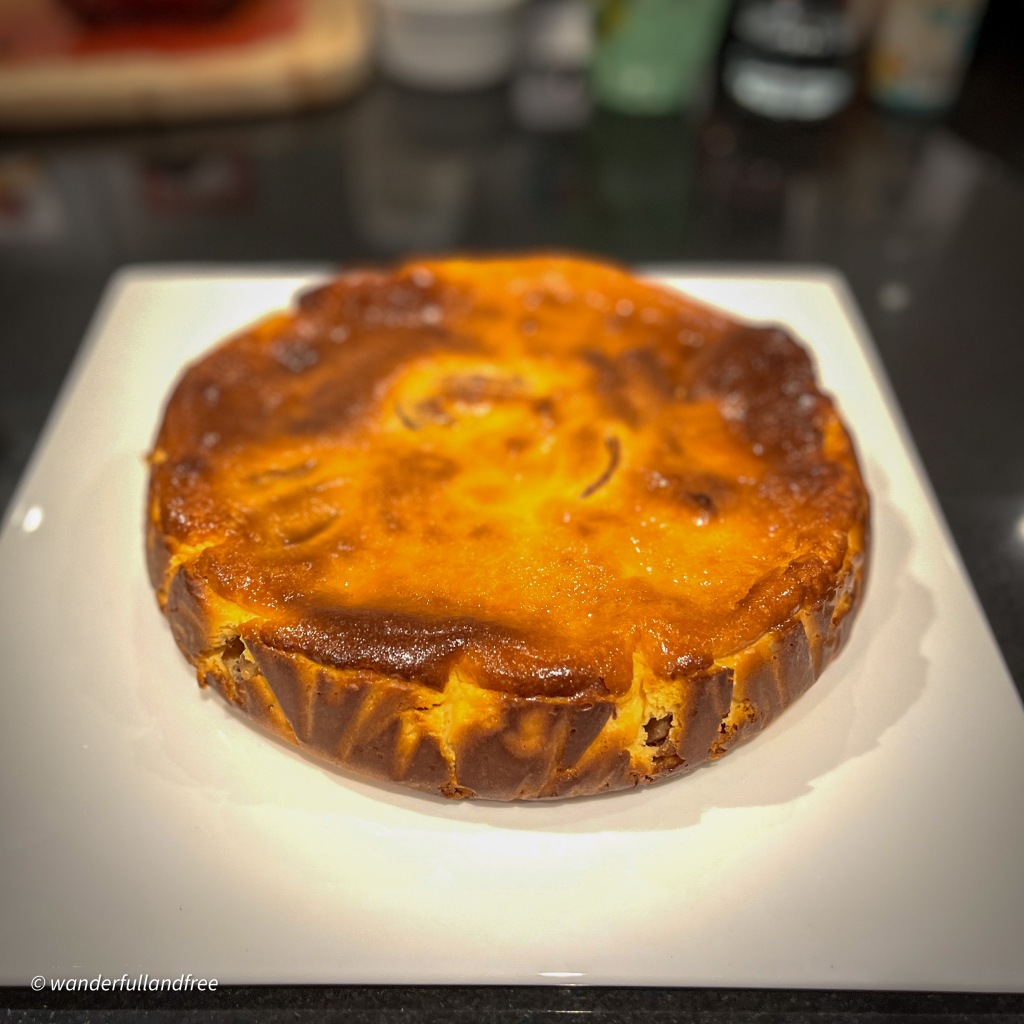
Bake at 180C for 55 minutes til golden and caramelised on the top.
Testing with a bamboo skewer should come out clean too.

Allow the cake to cool on a wire rack.
Rest for 5 minutes before releasing the springform outer to avoid steam build up.
Once completely cool, cover and keep in the fridge overnight to allow the flavours to deepen. This cake really tastes best when eaten chilled the next day.
This cake really tastes best when eaten chilled the next day.
Enjoy a slice, grab a nice book and listen to some jazz. This cake was quick to prepare but slow down and really enjoy everything this cake represents: memories and nostalgia.
Recipe

Baked Apple Cheesecake
A delicious and surprisingly easy baked apple cheesecake recipe that is light, airy and maybe a little healthy. This is essentially a one blender recipe with minimal ingredients. Please try it for yourself.
- This cake is best served cold after being chilled overnight
- If you do not want to make the biscuit base or the apple filling, it will still be delicious but I suggest you add 1 tablespoon of lemon juice to the cheesecake batter during blending
- Line the cake tin with one large piece of baking paper with high sides so there is no leaking
Ingredients
- 250g Block of cream cheese
- 200g Yoghurt
- 2 Eggs
- 80g Sugar
- 30g Cake flour
- 100g Biscuits
- 40g Unsalted butter (melted)
- 1-2 Apples (~200g when peeled and sliced)
- 1 teaspoon cinnamon (optional)
- 1 tablespoon lemon juice (optional if you skip the apples)
Directions
- Prepare the apples: Pan fry the sliced apples in a dry non-stick fry pan til soften.
- Add cinnamon and toss apples to coat (optional). Leave aside to cool.
- Prepare the biscuit base: Crush the biscuits in a resealable bag with a rolling pin.
- Mix crumbs in a bowl with the melted butter.
- Pour into a lined, springform cake and flatten it smooth. Chill in fridge.
- Prepare the cheesecake mixture: Preheat the oven to 180C (fan-forced)
- In a blender jar add the cream cheese, yoghurt, sugar, eggs and cake flour. Add the lemon juice if using.
- Blend the mixture until creamy and smooth.
- Assemble the cake: Layer the apple slices in a single layer over the biscuit base.
- Pour the cheesecake mixture over the apples
- Transfer to the middle rack of the oven and bake for 55 minutes, until caramelised and deeply golden. A bamboo skewer will come out clean
- Cool on a wire rack.
- Cover and chill inside the fridge overnight
- Serve in slices the next day.
This post contains affliate links. Thank you for supporting this blog. Learn more.

Tried this cake and it was Deliscious!!
LikeLiked by 1 person
I’m so glad it was delicious! Thank you for commenting. Hopefully you can make more for your family 😬
LikeLike